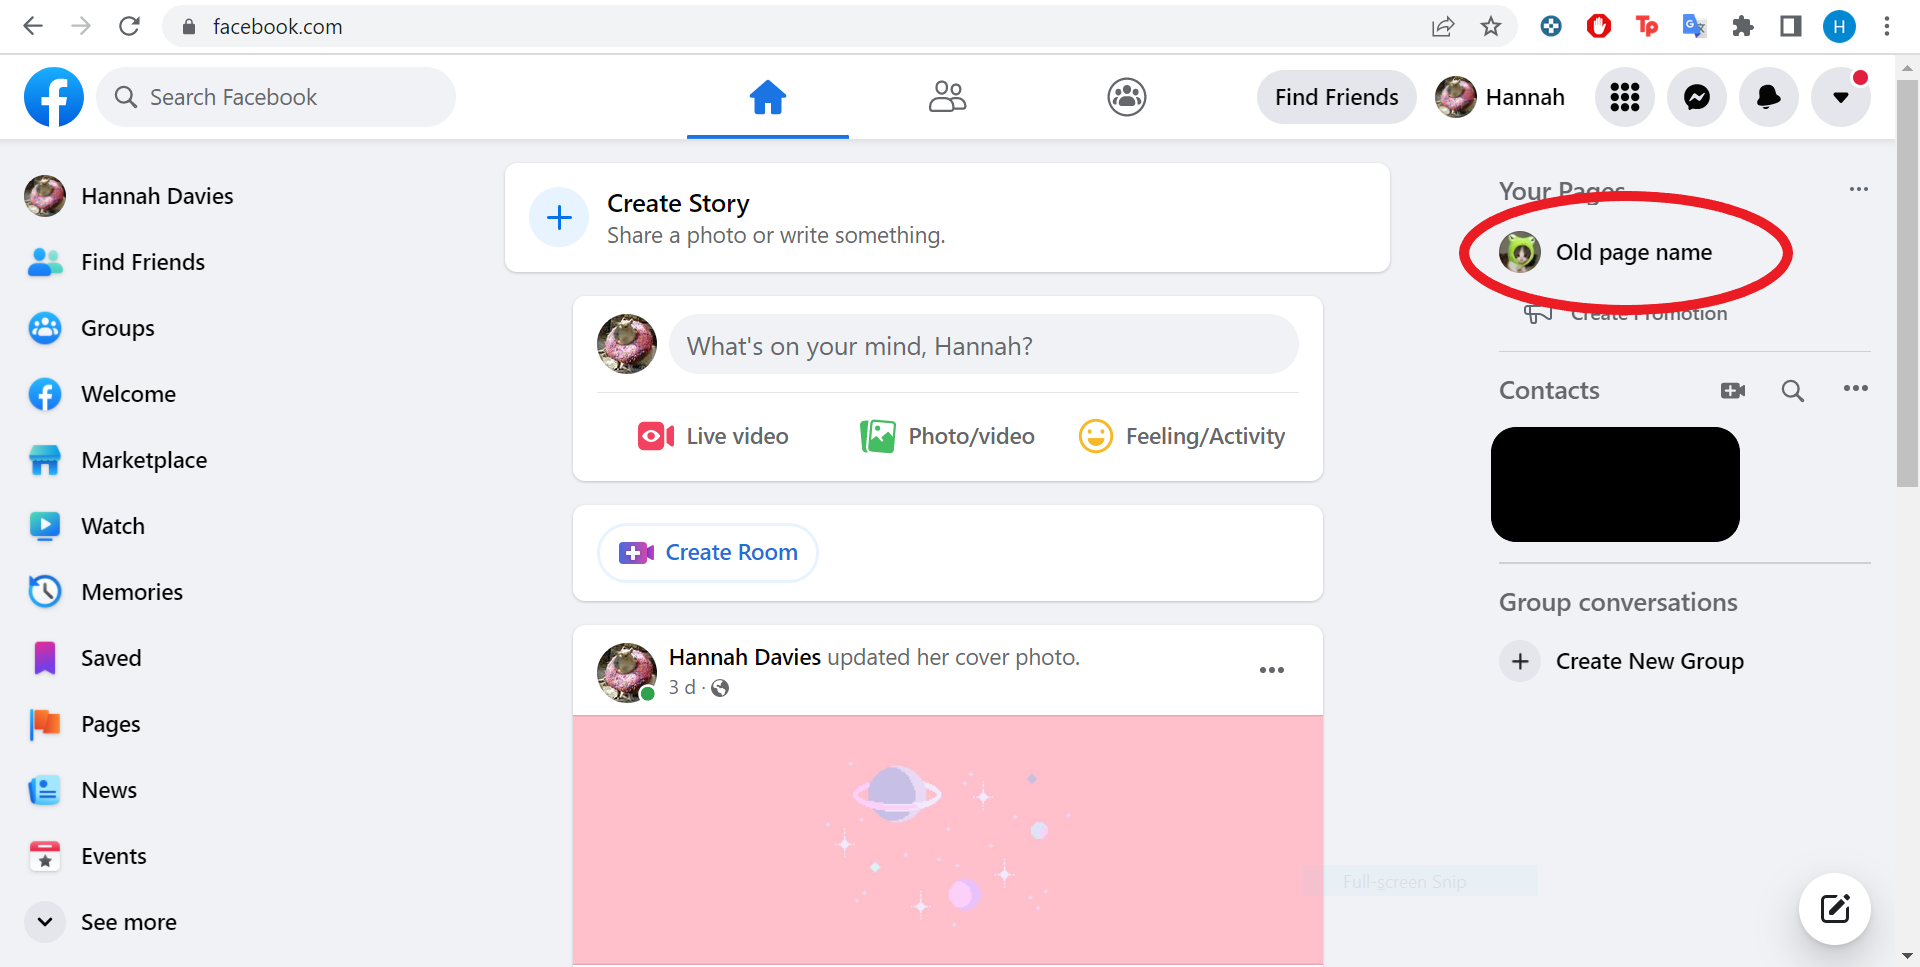
In today’s digital landscape, your Facebook Page stands as a beacon of your brand’s online presence. Understanding how to change your Facebook page name is more than a trivial task; it’s a necessary step for businesses evolving their brand identity or correcting a mistake. This guide will walk you through the process, ensuring you’re equipped to make this significant change smoothly and effectively.
Understanding the Basics
Before diving into the steps, it’s crucial to grasp the importance of your Facebook Page name. It’s the first thing people see when they search for your brand on Facebook, making it a vital component of your online identity. Changing your Page name might seem daunting, but it’s a straightforward process if you’re an admin of the Page.
Eligibility and Considerations
Not everyone can change a Facebook Page name. You must be an admin to initiate this change. If you’re unsure about your role, check your Page settings to confirm your status. Additionally, Facebook imposes certain restrictions on name changes to prevent abuse, ensuring that names accurately reflect the Page’s content and purpose.
Step-by-Step Guide to Changing Your Page Name
- Navigate to Your Page Settings: Start by logging into Facebook and accessing your Page. Look for the ‘Settings’ option, typically found in the bottom left corner of your Page.
- Edit Page Info: Within the settings menu, select ‘Page Info.’ This section contains essential details about your Page, including its name.
- Update Your Page Name: Click on the current name to edit it. Enter your new desired Page name carefully. This name should reflect your brand accurately and comply with Facebook’s naming guidelines.
- Submit Your Request: After entering the new name, click outside the name box to trigger a review request. Facebook will then ask you to confirm this change. Review your new name for any typos or errors before clicking ‘Request Change.’
What to Expect After Submitting Your Request
Facebook reviews name change requests to ensure they meet community standards and guidelines. This process can take up to three days. If approved, you’ll receive a notification, and your Page name will be updated. Remember, changing your Page name doesn’t affect its username or URL; these are separate elements that can also be modified if necessary.
Ensuring a Smooth Transition
After your Page name change is approved, consider informing your audience about this update to avoid confusion. You can do this through a post or an update on your Page. This transparency helps maintain trust and clarity with your followers.
Final Thoughts: Embracing Change with Confidence
Changing your Facebook Page name is a significant step for any brand. Whether you’re rebranding or correcting a previous name, this change can help better align your Page with your brand’s identity and goals. By following the steps outlined above, you can navigate this process with ease and confidence.
Frequently Asked Questions
- Can I change my Facebook Page name to anything?
- Your new Page name must comply with Facebook’s naming guidelines. It should accurately represent your Page and not include misleading terms, excessive capitalization, or unnecessary symbols.
- How often can I change my Facebook Page name?
- Facebook doesn’t set a strict limit on how often you can change your Page name, but frequent changes are discouraged to prevent confusion among your audience.
- What if my Page name change request is denied?
- If your request is denied, review Facebook’s naming guidelines and ensure your proposed name complies with them. You can then submit a new request with a different name.
- Will changing my Page name affect my followers or Page content?
- No, changing your Page name won’t affect your followers or the content you’ve posted. However, it’s a good idea to inform your followers about the name change.
- Can I change my Page name if I’m not an admin?
- No, only Page admins have the authority to request a name change. If you’re not an admin, you’ll need to contact one of the existing admins to make the change.
